Chapter 1: Preparing Backup
To prepare for migration first of all we need to take backup of the magento stores and their databases. All the generic terms used throughout this document i.e. user, password, db1, folder1 etc are to be replaced with actual data as these terms are used her for conceptual purpose only. All text which is in bold is the command used in linux CLI.
In order to log in to the server which holds these files use any ssh client. Normally there is a client used for this purpose i.e. putty, or mRemote.
Normally any client you use to ssh into any server needs the following information.
- Hostname or IP
- Username
- Password
So, you ought to have this information before you can ssh into any server.
Using Putty is the easiest. When you have downloaded putty you shall see a window as shown below in Image 1:
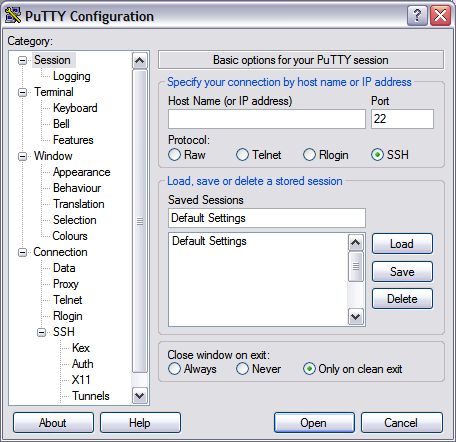
Image 1: Putty Window
Simply put in IP or hostname of the server and you shall immediately see a window asking for “username”. Provide both username and passwords when prompted and viola you have ssh’d into the server.
Backup Database
To backup database; use the below mentioned command.
To back up a single DB use:
#mysqldump -u dbuser -p ‘db1’ > mysqlbackupdb1.sql
After pressing enter you shall see a prompt as mentioned below.
Enter Your Password: (It’s better to enter your password here for Security Reasons)
To back up more than one DB use:
#mysqldump -u dbuser -p – -databases db1 db2 > mysqlbackup.sql
After pressing enter you shall see a prompt as mentioned below.
Enter Your Password: (It’s better to enter your password here for Security Reasons)
Backup Store Folders
To back up your store folders go to the path where these folders are located.
From there on use the following commands:
For a single folder
#tar -cvzf mycompressedfile.tar.gz folder1
For multiple folders
#tar -cvzf mycompressedfile.tar.gz folder1 folder2 folder3
Transferring Files to New Server
To transfer your files to the new server use SFTP and doing that from server to server is much faster than downloading the files to your local machine and uploading from there.
For sftp always remember to check the user you are currently logged in with e.g. if you are logged in with user “user123” and you have to sftp the server with “user456” then it should be a known fact.
To check which user you are currently logged in with you can use:
#whoami
To SFTP the new server where you have to transfer the data; you would require either the IP or hostname. If for example the hostname of the server “example.com” and IP is “10.10.1.114”
Then you would use for hostname:
#sftp user456@example.com
If asked for to permanently add the RSA key to known clients list then select “yes” if that will be used time and again and if you are using it for the last time then select “no” for that.
When prompted for password; provide password that you have access to.
Similarly for IP:
Then you would use for hostname:
#sftp user456@10.10.1.114
Now you shall be logged in.
If you have to check which directory you are on the remote server (new server) try the following:
sftp> pwd
It shall give you the current directory you are logged in on remote server. For example the directory you are in on remote server is
/user456/downloads
Now when you upload files from local server (old server) you will find those files in /user456/downloads on remote machine.
Now to check the local working directory one shall use:
sftp> lpwd
Now if you for example saw that the local working directory is /user123/downloads; but your file is in directory /root/downloads/mycompressedfile.tar.gz and /root/downloads/mysqlbackup.sql
Then use the following commands:
sftp> put [Current Location of file] [destination]
sftp> put /root/downloads/mycompressedfile.tar.gz
This will upload the tar file to the remote directory mentioned above i.e. /user456/downloads/
Similarly,
sftp> put /root/downloads/mysqlbackup.sql
Now both files shall be on the remote server and from here we shall move on to restore the backup and migrate our store to new server.
Similarly,
To download file from a remote server to local server.
Sftp> get [Current location of file] [destination]
Chapter 2: Restoring Backup
Now log into the New server for example its IP is 10.10.1.
To start restoring back-up first we need to (un)tar [un-compress] the files in the folder which shall be used for root folder for the corresponding website. For example we have the following URL’s against the following folders:
www.abc.com à folder1
www.def.com à folder2
www.ghi.com à folder3
Now these folders ought to be in the tar file you uploaded from old server.
Now (un)tar these files into the desired folder which in normal cases would be “/var/www/” more importantly it’s because it is a convention and anyone working on the server would look for these files in this directory.
Restoring Folders
As mentioned before the required file is in “/user456/downloads/”; so we shall use the following commands to un-compress the folders in “/var/www/”.
#tar -zxvf [current location] [destination]
#tar -zxvf /user456/downloads/mycompressedfile.tar.gz /var/www
Now, we have un-compressed the magento store folders to the desired folder.
Restoring Database
It is time to restore mysql databases. But before proceeding always take backup’s of the existing databases using the same commands as before i.e. myhsqldump. Now, to restore the databases simple put in the following commands:
#mysql -u dbuser -p < /user456/downloads/mysqlbackup.sql
This will restore all databases which have been backed-up in mysqlbackup.sql.
To restore a single DB:
#mysql -u dbuser -p ‘db1’ < /user456/downloads/mysqlbackupdb1.sql
Now that we have restored all DB’s.
It is time to configure the local.xml files of the corresponding stores.
For example the magento store folders and their hostnames are as given below:
ServerName/HostName Folder Name Database Name
www.abc.com folder1 db1
www.def.com folder2 db2
www.ghi.com folder3 db3
Simply go to first folder i.e. /var/www/folder1
#cd /var/www/folder1/app/etc
Now open the file local.xml with editor of your choice. Its better to use nano if you are newbie with linux. “Nano” is installed by default in Ubuntu.
#nano local.xml
Change the Following three lines.
<username><![CDATA[dbuser]]></username> [Mysql Database user]
<password><![CDATA[dbuserpassword]]></password> [Mysql DB user Password]
<dbname><![CDATA[db1]]></dbname> [Mysql DB (which in this case is db1)]
Assuming LAMP stack is already installed and phpmyadmin is already installed as well.
Open the hostname i.e. www.abc.com/phpmyadmin in a browser of your choice and enter the same credentials as of db1 for example as shown in image 2:
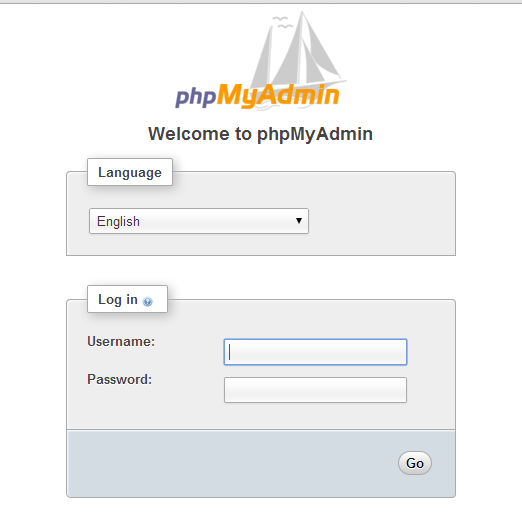
Image 2: Phpmyadmin login page
You shall now see your database on the left panel.
Click on ‘db1’ and search for the following table “core_config_data” and change the base URL in the path value column to
http://www.abc.com and https://www.abc.com as shown in image 3.

Image 3: “base_url” Changes
Configuring Apache
After Completing these steps go to “/etc/apache2/sites-available/default”
One has to create virtual hosts file before the server starts accepting http requests. In order to do that one only needs to change the following in red:
<VirtualHost *:80>
ServerAdmin server.admin@systematicbytes.com
ServerName abc.com
DocumentRoot /var/www/folder1
<Directory />
Options FollowSymLinks
AllowOverride all
</Directory>
<Directory /var/www/folder1>
……other options below……………
</Directory>
</VirtualHost>
For another virtual host; past another copy of this code.
<VirtualHost *:80>
ServerAdmin server.admin@systematicbytes.com
ServerName def.com
DocumentRoot /var/www/folder2
<Directory />
Options FollowSymLinks
AllowOverride all
</Directory>
<Directory /var/www/folder2>
Options -Indexes FollowSymLinks MultiViews
AllowOverride all
Order allow,deny
allow from all
</Directory>
ScriptAlias /cgi-bin/ /usr/lib/cgi-bin/
<Directory “/usr/lib/cgi-bin”>
……all remaining code………..
</Directory>
</VirtualHost>
After this restart apache2 i.e.
#/etc/init.d/apache2 reload
Also, do turn on the apache mod-rewrite. i.e.
#a2enmod rewrite on
The status can be checked by stating
#a2enmod rewrite status
After these steps the magento store should be accessible if not then proceed to chapter 3.
Chapter 3: Known Issues
In known issues the most common issues can be the following:
- There can be an error in DNS entries in either A Records or CNAME.
- There can be a spelling mistake in apache configuration.
- There can be 301 Redirects in .htaccess
- There can be redirects defined in index.php.
- There can be issues due to ownership of the folders but mostly that’s not a problem.
- There can be problems with magento DB access.
- Whenever you transfer magento from one server to another dont forget to clear cache in /var/cache.